Bite-Sized Funfetti Mini Cheesecakes: Your Perfect Make-Ahead Party Treat
Imagine a dessert that brings instant joy, vibrant color, and irresistible flavor to any gathering, all while being incredibly easy to prepare ahead of time. Enter the delightful world of funfetti mini cheesecakes! These individual portions of creamy, vanilla-infused cheesecake, studded with cheerful rainbow sprinkles and perched on a buttery graham cracker crust, are the ultimate celebratory indulgence. Whether it’s a birthday bash, a casual get-together with friends, or simply a treat to brighten your day, these bite-sized wonders promise a fuss-free and utterly delicious experience. Say goodbye to the complexities of a full-sized cheesecake and embrace the effortless charm of these funfetti sensations.The Magic of Bite-Sized Bliss: Why Funfetti Mini Cheesecakes Are Your Next Party MVP
What makes funfetti mini cheesecakes such an extraordinary dessert option? Beyond their undeniable charm and festive appearance, they offer a host of practical benefits that make them a go-to for hosts and dessert lovers alike.- Effortless Individual Portions: No more struggling with messy slices or uneven servings! Each mini cheesecake is perfectly portioned, making them incredibly easy to serve and enjoy. Guests can simply grab and go, eliminating the need for plates and forks if you're serving them at a casual event.
- Perfect for Making Ahead: One of their greatest advantages is their make-ahead potential. You can prepare these cheesecakes a day or two in advance, allowing them ample time to chill and firm up in the refrigerator. This frees you up to enjoy your party without last-minute dessert stress. For more insights on planning your party desserts, check out our guide on Effortless Funfetti Mini Cheesecakes: Your Easy Party Dessert Guide.
- Simplified Baking – No Water Bath Needed!: Unlike traditional cheesecakes that often require a finicky water bath for even baking and to prevent cracks, these mini versions bake beautifully in a standard muffin pan with cupcake liners. This simplifies the process immensely, making it accessible even for novice bakers. Discover more about this baking method in our article: No Water Bath Funfetti Mini Cheesecakes: Quick & Easy Baking Guide.
- Quick Baking Time: Since they're smaller, these cheesecakes bake in a fraction of the time compared to a large cheesecake, allowing you to enjoy your delightful creations sooner.
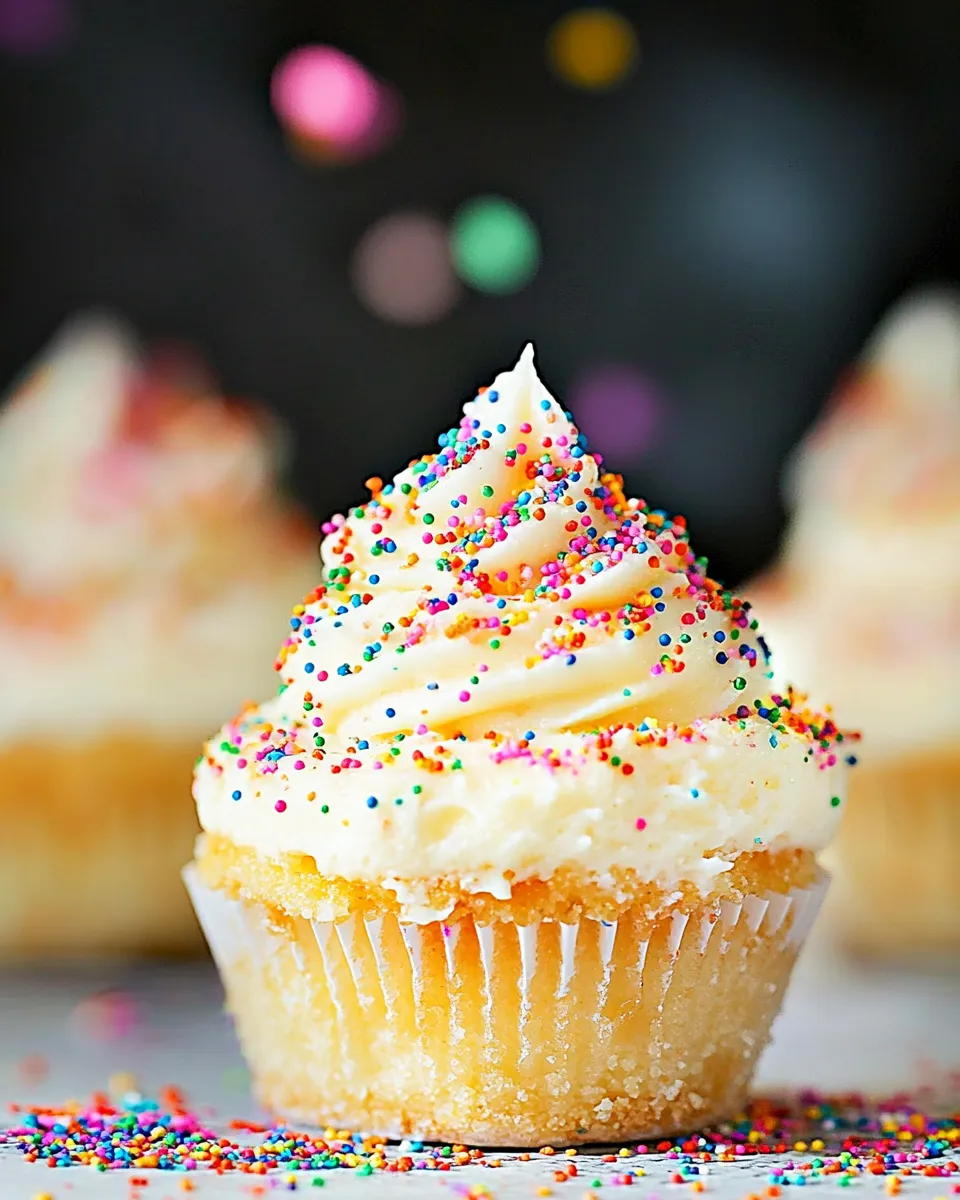
- Irresistible Texture and Flavor: Each bite delivers a silky-smooth, creamy vanilla cheesecake filling nestled on a buttery, slightly crumbly crust. The vibrant rainbow sprinkles add not just a burst of color but also a subtle sweetness and playful texture. Topped with a dollop of homemade whipped cream and a sprinkle more of jimmies, they are a symphony of flavors and textures.
- Visually Stunning: The cheerful rainbow sprinkles mixed directly into the batter make these cheesecakes an instant mood lifter. They scream "celebration" and are guaranteed to bring smiles to faces young and old.
Decoding the Deliciousness: Essential Ingredients for Perfect Funfetti Mini Cheesecakes
Crafting the perfect funfetti mini cheesecake starts with understanding the role of each ingredient. Quality matters, and a few expert insights can elevate your baking from good to truly exceptional.Here’s a breakdown of the key components and what to look for:
- For the Crust:
- Graham Crackers: The classic choice for a reason, providing a sturdy, subtly sweet, and buttery base. You'll want them finely crushed.
- Alternatives: For a twist, consider using finely crushed Golden Oreos (for an even sweeter, more vanilla-forward crust) or vanilla wafers. These can add their own unique flavor profile.
- Melted Butter: Binds the crumbs together and adds richness.
- Granulated Sugar & Pinch of Salt: To enhance the flavor of the crust.
- For the Creamy Cheesecake Filling:
- Cream Cheese: This is non-negotiable – always use full-fat, brick-style cream cheese. *Avoid the spreadable tub variety* as it has a higher water content and won't set properly, leading to a runny cheesecake. Ensure it’s softened to room temperature for a lump-free, silky batter.
- Granulated Sugar: Sweetens the filling to perfection.
- Yogurt or Sour Cream: Adding plain or vanilla yogurt (or sour cream as a substitute) is a brilliant trick to enhance the cheesecake's creaminess and impart a delightful tang that balances the sweetness. It contributes to that luxurious, melt-in-your-mouth texture.
- Vanilla Extract: Use good quality pure vanilla extract for the best flavor. It complements the sprinkles beautifully.
- Eggs: Act as a binder, giving the cheesecake its structure and helping it set. They should be at room temperature.
- For the Funfetti Element:
- Rainbow Sprinkles (Jimmies): For the signature "funfetti" look, jimmie-style sprinkles are highly recommended. These cylindrical sprinkles hold their shape and bleed less color into the batter during baking compared to nonpareils (the tiny round ones). Folding them in gently at the end helps maintain their vibrant colors.
- For the Topping:
- Whipped Cream: A dollop of freshly made or good quality store-bought whipped cream adds an ethereal lightness and balances the richness of the cheesecake.
- Extra Rainbow Sprinkles: A final flourish of sprinkles on top enhances the visual appeal and reinforces the fun theme.
Crafting Your Funfetti Masterpieces: A Step-by-Step Guide
Making these funfetti mini cheesecakes is surprisingly straightforward. Follow these steps for cheesecake perfection, paying attention to the details that make all the difference.- Prepare Your Muffin Pan: Line a standard 12-cup muffin pan with paper cupcake liners. This makes for easy removal and serving.
- Create the Buttery Crust:
- Finely crush your graham crackers (or alternative) in a food processor until they resemble fine sand. If you don't have a food processor, place them in a Ziploc bag and crush them with a rolling pin.
- In a medium bowl, combine the crumbs with melted butter, granulated sugar, and a pinch of salt. Mix until well combined and the mixture resembles wet sand.
- Evenly divide the crust mixture among the cupcake liners (about 1.5-2 tablespoons per liner). Press down firmly using the back of a spoon or a small measuring cup.
- Bake the crusts for 5 minutes at 350°F (175°C). This brief pre-bake helps set the crust, preventing it from becoming soggy when the filling is added.
- Remove from the oven and let cool slightly while you prepare the filling.
- Whip Up the Silky Filling:
- In a large bowl, using an electric mixer, beat the softened brick-style cream cheese with granulated sugar on medium-high speed until it's perfectly smooth and creamy, with no lumps (about 2-3 minutes). Scrape down the sides of the bowl as needed.
- Add the yogurt (or sour cream) and vanilla extract. Mix on medium speed until just combined.
- Reduce the mixer speed to low-medium. Add the eggs one at a time, mixing only until just incorporated. *It's crucial not to overmix at this stage*, as too much air can cause the cheesecakes to puff up excessively and then crack as they cool.
- Remove the bowl from the stand mixer. Using a silicone spatula, gently fold in the rainbow sprinkles until evenly distributed. Be gentle to minimize color bleeding.
- Bake to Perfection:
- Evenly distribute the cheesecake filling over the pre-baked crusts in the cupcake liners. Fill them about two-thirds full.
- Bake for 15-18 minutes, or until the tops of the cheesecakes are set and barely jiggle in the center when gently shaken. They will firm up considerably as they cool.
- Cool and Chill:
- Allow the baked cheesecakes to cool completely on the counter in the muffin pan for at least 45 minutes. This gradual cooling helps prevent cracking.
- Once cooled, cover the entire muffin pan loosely with plastic wrap and transfer it to the refrigerator to chill for a minimum of 3 hours, or ideally, overnight. Chilling is essential for the cheesecakes to fully set and for the flavors to meld.
- Garnish and Serve:
- Once thoroughly chilled, carefully remove the cheesecakes from the muffin pan and peel off the liners.
- Just before serving, top each funfetti mini cheesecake with a generous dollop of whipped cream and a sprinkle of extra rainbow jimmies for that irresistible finishing touch.
Pro Tips for Funfetti Mini Cheesecake Perfection & Storage
To ensure your funfetti mini cheesecakes turn out absolutely perfect every time, keep these expert tips in mind:- Room Temperature Ingredients Are Key: Ensure your cream cheese, eggs, and yogurt (or sour cream) are all at room temperature. This is vital for achieving a smooth, lump-free batter and ensures proper emulsification of ingredients.
- Avoid Overmixing: Once the eggs are added, mix on low speed only until they are just incorporated. Overmixing introduces too much air, which can cause cheesecakes to puff up and then sink and crack as they cool.
- Choose the Right Sprinkles: As mentioned, jimmie-style sprinkles are preferred for baking into batter as they are less prone to bleeding color than nonpareils.
- Gentle Folding: When adding sprinkles, fold them in gently with a spatula rather than using the mixer, which can break them down and cause more color bleeding.
- Don't Overbake: Mini cheesecakes bake quickly. Watch them closely. They're done when the edges are set and the center has a slight jiggle. They will continue to set as they cool.
- Gradual Cooling is Essential: Resist the urge to rush the cooling process. Letting them cool on the counter first, then chilling thoroughly in the refrigerator, helps them set beautifully and prevents cracking.
- Storage: Store any leftover funfetti mini cheesecakes in an airtight container in the refrigerator for up to 5 days. For longer storage, you can freeze them (without the whipped cream topping) for up to 1 month. Thaw in the refrigerator before serving, then add fresh whipped cream and sprinkles.
